Thursday, March 29, 2012

DIY: Reese's Peanut Butter Eggs! (Options for dairy free and PB free)


I normally don't buy lots of candy but at  Easter and a few other holidays, like Christmas and Valentines Day, it's hard not to! One of my families FAVORITES is Reese's Peanut Butter cups... and how can you not LOVE all of the shapes they put them in for each Holiday!  However, Per piece of candy, these can be pretty pricy especially if you are buying them for your whole family! Here is an example from Target...Each egg is on SALE for 75 cents!!!! 

As you pick up an egg to decide if you are going to spend your money on it, you turn it over and check out the ingredients...It doesn't look too bad! OF COURSE it has sugar in it, it's CANDY! And everything else looks pretty normal...Companies have gotten smart by shortening or nicknaming their additives so you can easily over look them...Do you notice the third from the bottom, TBHQ....? This is short for Tertiary Butylhydroquinone...WOW that's a mouthful!!!! I don't know if any of us are adding this to our homemade baked goods! TBHQ is a controversial additive, used to keep oils from going rancid. It's a petroleum Derivative. The food industry pushed the FDA for years to get it approved as a preservative despite the fact that ingestion of large doses (a thirteenth of an ounce) can cause nausea, delirium, collapse, ringing in the ears, and vomiting. There are also other suggested problems that TBHQ may cause but I won't go into all of them. The FDA has rules on TBHQ that it cannot exceed 0.02 % of the oil and fat content in a food, which is their side of the argument...The trace amounts "can't hurt you"is what they would argue, but why even mess with it!? If something has to be LIMITED in or foods why would we even want a trace amount!? AND then on top of this, FEED IT TO OUR CHILDREN!!!!

 This leads me to something else! My husband got me into this FREE app that is SOOOO COOL! It is called Fooducate. Check it out! You can scan most bar codes and it will tell you a little about what you are eating and give it a grade! Here is the grade for one Reese's PB Egg. I knew it would get something LOW because it is candy but it will also tell you about the additives and preservatives inside what you are about to eat so you can really THINK before you buy it!!! 

 I don't want this post to be all a downer!!!!! Lets get to the POSITIVE stuff!!! How can you not love the combination of Peanut Butter and Chocolate!?! I couldn't help myself when I saw a recipe for DIY- Reese's Peanut Butter Eggs on Pinterest! YUMMY is all I could say! Thank you The Whimsical Princess for your post! I tried the recipe and changed it a little and ALSO will give you recipe suggestions for those of you who have peanut or dairy allergies! You should be able to enjoy these too! =) Let me say that I normally DON'T use sugar in my baked goods but when it comes to homemade Reese's with no preservatives VS. store bought....I'M IN!! This recipe will make you about 28 (2 inch) eggs! You can also make them smaller for portion control. Here's what you need.
Ingredients:
"Peanut Butter" filling
  • 3 1/2 cups powdered sugar
  • 2 cups Creamy Peanut butter (Almond or any nut butter will work also)
  • 1/4 cup butter melted (I would use Earth Balance for a dairy free choice, which also makes this Vegan)
  • 2-3 tablespoons milk (almond, coconut, or other will work)
Chocolate coating
  • 2 1/2-3 cups semisweet chocolate chips (carob chips if recipe is Vegan or dairy free chips will work just the same)
  • 1 tablespoon butter (Earth Balance or other butter substitute)

Directions:

Mix together the powdered sugar, peanut butter, and MELTED butter. 


Add the milk one tablespoon at a time until it becomes a nice workable dough. 

Then form the dough into egg shapes, and place in the freezer for about an hour.
If you are making these for another Holiday form them into Trees, or Hearts...Etc.

Place the chocolate chips and shortening in a glass measuring cup.  Microwave 30 seconds at a time stirring in between until completely melted. This step only took me 1 1/2 minutes.

 I used five wood skewers for this next step, Stick in into the bottom of five eggs at a time.

Then dip into your chocolate and let as much excess run off as you can. I used a spoon to help me cover the whole area of the egg! Then place on Wax paper to dry. It's very simple to remove the skewer to use again.... just twist!
If you have any...cut off excess chocolate around each egg.
These are SO much better than store bought!!!!! Also they are pretty rich so you can ACTUALLY stop after just one! 
Totally kid approved....We even shared with our neighbors and the kids wanted more! =)

Here's to a CHEAPER and NO ADDITIVE candy!!!! Happy Easter!

Saturday, March 24, 2012

Simple Behavorial & Financial Chart for Elementary Children

I'm moving on in the chart system to show you what I did with my son once I noticed that we needed to update the Coin Chart System to something else! Once your child reaches Kindergarten you really need to be teaching them about REAL money. They should be able to earn it and manage it! If you don't start now they will have trouble knowing what to do when they are older!

First thing I did was thought of a few areas which my son needs to work on, or areas he has trouble with. These can ALWAYS be changed on the chart as the child grows up and changes. I made up four columns of areas I want him to work on and ALWAYS have an OTHER column (things always pop up that wont fit into a certain category)! These columns are where all of his GOOD marks go! You can also use the columns to put their daily chores in... but I wanted as many chances as I can to PRAISE my child so all of his chores fall under helping out or cleaning up! 

Then, you have what I call Oops Marks! This is anything your child does that isn't ok, behaviors you don't want them to repeat! Here is where the coins system stays the same.... If your child gets 6 Oops marks in one day, they lose a special privilege. For my son, he would lose ALL TV and video games for the rest of the day!

Now, here is where the money comes in! For every mark on the good side, my son earns 10 cents. For every Oops mark he pays us 10 cents! I LOVE that is is only 10 cents because you can search for good things your child does ALL day long and constantly point them out with a good mark! This is the big change that we made from the "Coin System" because as you child gets older, situations become more complicated! It's good to have a system that is open ended! Also, I think it changes us as parents because we are searching for the GOOD in our children and not just focusing on the bad all the time! It seriously changes the mood of the whole family!
*Tip: Change the amount of money the child gets for each mark by their age! If you are doing this with your 6 year old and your 9 year old, your 9 year old should be making more per mark!
(pictured: my son calculating his marks at the end of the week)

Here are some examples of how the chart works:
 Anytime I ask my son to help me out by getting me something I need and bringing it to me, and he does it....without complaining, I will say "Brenden, that was such a big help to mommy, you get a helping out mark!" or on a shorter note, "Thank you Brenden, that's a mark!" If it is something he just does by himself without me asking him and it helps me out A LOT I might say, "Brenden, that was such a big help to me, I am giving you 2 or 3 marks for that!"
If his sister hits him on the head and he looks at her and says "I don't like it Kiki, that really hurts!" I would reply to him, "Brenden, thank you for using your words and not hitting your sister back! That is a mark !" Then I would deal with sister!
Something that may fit in the "Other" column might be, if my son told the truth about something when he could have lied! Or, if I thought something he did was sweet... example, My daughter was crying for daddy when he left for work and my son went up to her and said, "Kiki, brother is here, you can play with me! Come on, here is a toy!" and he got her to stop crying....This could also fall under the "Helping Out" column.... But all that really matters is you give them marks for good behavior! REMEMBER, the stuff you REALLY want them to repeat, give them MORE than one mark! It really helps to show them what behaviors you value!
The Oops marks are pretty self explanatory... If your child makes a bad choice you can say, "Oh, that's too bad you chose to do that! That is an Oops mark!" If it's REALLY bad, give them more than one Oops mark.... just as above this will show them the behaviors that you really feel shouldn't be repeated. Don't forget to remind them, when they are getting close to 6 Oops marks in one day, of the special privilege they will lose! It's pretty bad if they get 12 Oops marks in one day (my son has done it twice when we first started the chart) but if it ever gets to that point you can take away another privilege! 

The example below is of the chart I created in Adobe Illustrator, for a span of 4 weeks! You can just print a bunch of these out and have them ready to put up once the four weeks are over! You won't believe how fast it goes by! At the bottom I made up a place to total up the marks! You total up the good marks then subtract the Oops marks and get the amount of marks you will be paying you child for! For example, if my son made 48 good marks and 7 Oops marks...that would equal 41 marks I will pay him for which is 4 dollars and 10 cents! It's simple and straight forward!

On the topic of money, in the real world you get compensated for the work you do at your job. In MOST cases, if you don't work, you don't get paid! So at the end for the week, we say "It's time for your Compensation....not your Allowance." Also, if you can put into practice some way that your child saves some of the money they earn, that would be GREAT practice for the future! Remember you are raising and ADULT and you want them to learn good habits to take with them in the future!
TIPS
*For this chart to work, no matter how busy it gets, try to pay your child WEEKLY! Also have them be the one to calculate, with your help, how much they earned and how much they have to pay you!

*Although, this chart posted isn't decorated much.... like the Coin System, try to decorate the chart or have your child decorate it to make it more "FUN"!

*My system is only a suggestion, and things are different in every family! I hope you take the basic ideas and use them to apply them to your family and children! Your children, even if they are all close in age might all have different charts! This is a good thing! Take the differences in your children and make up a system JUST FOR THEM!!!! That is the way you will get the most progress and positive behaviors out of them! ALWAYS REMEMBER, when you start a new system, your child might seem that they are getting worse before they are getting better, ALL children will test the system to see if it's gunna work like you say it will!
I hope these ideas help you get on track with your child! PLEASE leave me any questions you may have in the comments section! I would LOVE to help!

Chart

Wednesday, March 21, 2012

Healthy Carrot Cake Morning Muffin

Ok, I have been experimenting a lot with the Easy, Healthy, & Fast Breakfast Muffin and I came up with something SO GOOD you will never believe you should be eating it for breakfast! My whole family LOVES Carrot Cake so I made it into a healthy muffin out of this easy recipe! 

Ingredients:
1/4 cup Flax Meal
1/4 cup flour (I used Oat flour in this one but it doesn't matter)
1 teaspoon coconut oil (or butter)
1 teaspoon cinnamon
1 teaspoon sweetener (try using something rather than sugar like agave or 100% maple syrup)
1/2 teaspoon baking powder
1 egg
1 Tablespoon milk (or substitute)
1 Tablespoon Raisins
1 Tablespoon grated carrots
1 Tablespoon crushed pineapple (you could also use applesauce for this step)

Mix all ingredients together in a coffee mug and cook in the microwave for two minutes!!

For a little "Icing" I mixed 2 Tablespoons of cream cheese in a small bowl and heated in the microwave for 10/15 seconds and mixed in 1 teaspoon sweetener (I used Maple Agave syrup blend). 
Then pour it over the top of the muffin!!!! Easy & Tasty!


Tuesday, March 20, 2012

Ideas to make your own Baby Mobile

I don't know if a lot of you are like me but I REALLY don't like the baby mobiles out there on the market! They never have exactly what you want unless you are buying a total bedding package that happens to have a matching one! Also, for my last two kids, BLACK has been one of the main colors!!! If you haven't read my blog before, I am having a baby boy in June 2012 and I am integrating some stuff for him into what is now my daughters room. My daughters room has creamy yellow walls, perfect for a boy or a girl, and the rest of the theme is pink, black, and white! I'm trying to phase out as much of the pink as I can and sticking with the black, white, and cream idea.... 
In 2008, searching for a mobile that matched my color theme for my daughter's room was pointless! I decided to make my own! YOU can do this TOO!!!! I'm telling you it's so easy! I searched thrift stores and gently used stores for an old mobile... I just wanted a simple frame! I cut off the ugly stained bunnies hanging from it and spray painted the frame black! Now, all you need to do is find something you love to hang from the mobile. First, I got a cheap plastic (PLEASE don't use glass) silver christmas ball ornament from our christmas bin! Even if you JUST hang these from the mobile, how cute would that be and your baby would LOVE to stare at it! 
Then, I got VERY lucky and found these cute little Hello Kitty dolls in the dollar section at Target.... My only problem is they had fluorescent green shirts.... Hey, nothing a little paint couldn't fix right!? There you have it! Just single stitch the ribbon to the back of the head and tie it to your mobile frame!!!!
 OK, I'm SAD to see Hello Kitty go but I needed something different for my baby boy!!!! His basic theme is Tigers (Cream, black, and white)! I started thinking about buying four small tiger dolls but they were hard to find! I started browsing on Etsy! If you haven't checked that sight out, it's pretty cool! People hand make stuff and sell it! I was sure that I could find something cute on there!
I came across this Tiger felt keychain! I was like...."$4 dollars for one! I could make this and for a lot cheaper!!!! AND in the exact colors I want!" You have to think this way too! YOU can make what you want! And it has special meaning because of all the work you put into it! 

I searched around for four tiger faces I thought were cute and here is what I came up with!
Cute Stuffed Felt Tiger Keychain Jan

I made these four faces with felt, a simple needle and thread, cotton balls for stuffing, and a little hot glue on the small felt pieces! I am not a sewer! I normally give everything to my mother in law (she is making the crib sheets, bed skirt, and diaper changing pad for the room! I LOVE her!), so I know you can do this too! =)
 I bought some "white tiger" ribbon (some would call it zebra but I say WHITE TIGER! hehe)... and sewed it to the back of each tiger head and then tied it to the mobile frame!
 I mod podged the main tiger face I have used for my boy's theme to the top of the mobile. If you haven't seen it before, I painted this tiger face on a canvas for the baby's room. Check it out here!
 There you have it, a homemade baby mobile! Perfect for my baby's room theme! I couldn't buy this anywhere!
I also wanted to point out that you want to make sure, when sewing the ribbon onto the items on your mobile, that you kind of slant them down because the second picture is what your baby will see when laying in bed! Hope this inspires you!!!


Friday, March 16, 2012

Travel Coin Chart

 Due to such a LARGE response to my Coin Chart, A Behavioral and financial plan for you 2/6 year old, I wanted to show you all what I have done when we go on trips. You need to have your system with you wherever you go! Especially when you are taking a family trip, you want your child to behave so the family can relax and most importantly HAVE FUN! I made a travel chart for my son out of a simple file folder! You can see from the picture above that we have used this chart MANY times! We LOVE to travel to California a few times a year! 

Ok, so here it is! When you open up the folder you see the coins at the top. I used actual nickels! My son LOVED this and we just painted them different colors! The ten sticker chart system is below with a column on the right for GOALS. Then below that I added some fun stickers that I know he would like to choose from and don't forget you need a space to put the coins when your child looses one! 

This is a perfect size chart to just slip into your backpack and have with you at all times! The best thing is you child can earn something special, just for them, when you on the trip for their good behavior...
A close up shot of the nickles. You just attach them with Velcro and hot glue.... I used the softer side on the actual coin and the scratchy side on the chart!


Thursday, March 15, 2012

Coin Chart: Behavioral & Financial plan for your 2-6 year old THIS REALLY WORKS!

Every child is different! Some are easier than others and some are just born with a VERY strong will! I definitely had my tough one first! I have studied Child Development ( I have my BA in it) and have worked with kids my whole life... but my first child stumped me! It is different when you are a parent and not just a caregiver because you are with the child all the time. I was getting VERY frustrated ALL the time at my sons behavior starting at 2 1/2 years old. Nothing seemed to work! Frustration comes when you don't know what else to do! You have nothing which will effect the child enough so they will make the right choice and listen ON THEIR OWN! 
I came up with a coin chart when my son was three years old and I wish I would have come up with it sooner but we used it effectively for three years! At the age of six we changed it up a bit and he now manages his own REAL money (very important in a child's development and will blog about soon). 
I am going to tell you how it all works and I provided directions on how I made the coin chart below!

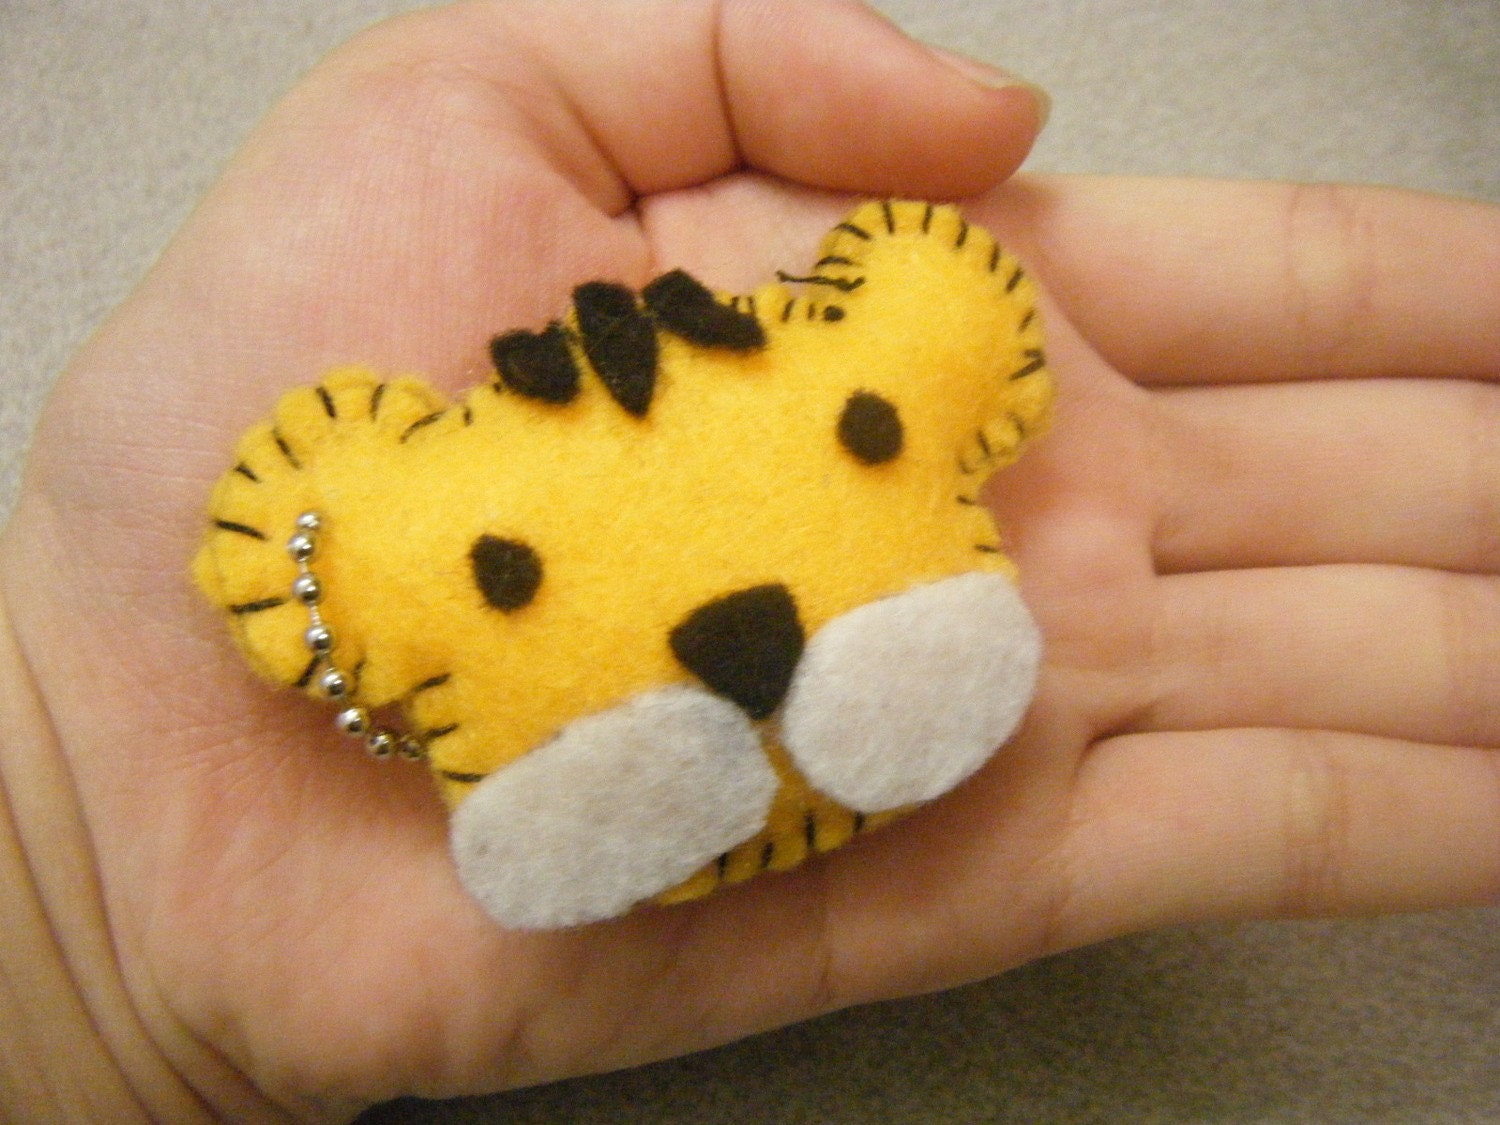
First, you need something tangible that your child REALLY likes! So I came up with Character Coins! They are like money but they are even better because they have your child's 6 FAVORITE characters on them! From the beginning, your child will hold value to the coins because of their FAVORITE  characters!

Second, the system you put into place has to have negative consequence to unwanted behavior, along with positive reinforcement with wanted behavior! I ALWAYS say this statement to my son "It's not YOU I don't like, It's the CHOICE you are making!" It's very important that you don't make your child feel that you don't like them or that THEY are bad...It's their DECISION that just might not be a good one. 

So this is how the coins work: Every day your child starts fresh with all six of their coins! It doesn't matter what horrible decisions they made the day before! In life, if it's a new day, we get to start fresh! If your child goes through the day and loses ALL 6 coins they loose a SPECIAL privilege! This needs to be something BIG.... my son lost all TV, video games, and i pod (anything that was electronic). This was REALLY bad for him even at three years old!!! So he definitely didn't want to loose ALL of his coins! Also, there is NO WAY for your child to earn the coins back if they loose them ALL. But they can start over tomorrow! Now, here comes the positive reinforcement of good behavior. DIG for ANYTHING good! You have to be watching for any behaviors you want them to repeat! When they do anything positive say "I really love how you..... (fill in the blank) you have earned a coin back!" Now if they haven't lost any coins yet that day, you can still point out that they made a good decision. If they already have lost ALL their coins, say something like... "I would have loved to give you a coin back for what you just did. I love that decision you just made! Tomorrow is a new day and you can start out fresh with ALL of your coins!"

Here is where it gets good! Most children want things when out shopping right? So this chart helps to eliminate begging for things and helps your child work to EARN what they want. This also helps them to VALUE their things more. How can the chart do this?! This is how: Every day that your child has ALL of their coins at the end of the day, they get a sticker! After earning 10 stickers in a row, they reach a GOAL! This is where you need to set up a system that will work for your family and your child. What we set up for my son was that every time he made ten stickers in a row, he earned a ten dollar goal. This sometimes took him weeks! So if your child is normally pretty good and doesn't want lots of things when you are out, you might want to set up an amount of money that you can save for them when they actually want to get something and the rest can go in their savings account (this is what I'm going to do for my daughter who is a VERY good listener! Meaning, she will probably reach goals every 10 days when it would normally take my son 2/3 weeks to reach a goal!)

What we are trying to do, and what this chart helps us achieve, as parents/caregivers is to show our children that positive things happen when they make good choices and negative things happen when they make unfavorable choices.

Here are some examples to help you understand the chart!
If your child is about to make a decision that isn't ok or they aren't listening to you when you need them to, this is time to warn "I'm gunna have to take a coin if you don't listen or if you don't stop (fill in the blank)." and that is all you say. If it persists you simply say "Ah Oh, that's one coin." You want to try not to get angry in this process... remember you are the parent and you are in control!!! Many times my son would persist and I would have to say, "Ah Oh, that's two coins. Ah Oh, that's three coins....." Normally, they will stop before you take them all away but there have been times when I've taken four coins and I remind my son that he only has two coins left and when he loses ALL of his coins he will lose ALL Tv for the rest of the day! It does help to remind your child especially at this age!

Other things I would say is, "Oh, all of this fighting is draining my energy, do you need to pay me a coin to help me get some of my energy back?" or "Look at all of these toys in the living room, are you going to pick them up or pay me a coin to do it for you?" 
These examples stem from Love and Logic. If you have time click they link and check them out! They really help you get a handle on how to parent in tough situations!


Another thing to remember, when first establishing this chart is your child will test it! They will need to know all of the rules and after that if YOU are going to follow through in making this really work. As a  babysitter and nanny for 15 plus years this is the NUMBER ONE thing I see parents do! THEY don't follow through on the rules so the rules they "try" to put in place don't work! If you want this chart to work in establishing positive behavior in your child YOU have to follow the rules too! Make sure they get a sticker if all of their coins are there by the end of the day! Make sure you tangibly have them go get you a coin if they are doing something unwanted. If you are not home and they lose coins while you are out, have them go get the number of coins lost right when you get home! 
ALSO, explain the rules to everyone who watches your child! If you work the chart effectively but your spouse doesn't, it doesn't work as well because "sometimes" they get away with things and "sometimes" they don't!

Another thing is your goals can sometimes be a special outing with a special person. You can also implement special things you already were planning as a goal! They don't ALWAYS have to cost you money!!! Get creative and think of things your child loves to do! Also, As my son got older and wanted more expensive toys, he would save his goals to reach the price of the specific item! This is good for young minds because they don't understand the concept of money all the way but they do understand how long it takes them to reach a goal. I can't tell you how many times I explained the cost of something to my son by the amount of goals it is! For Example, The Death Star Lego set is around 400 dollars. My husband and I would explain to him that it is FORTY GOALS to buy that!!! He would think about it and then try to choose something else more in his price range! =) Also, I explained to my son when he first started Gymnastics that I pay 5 goals every month for him to be in his class. They take it more seriously if they know those details. 

Lastly, The more you personalize this chart with characters your child loves and stickers of their FAVORITE things, the more effective this chart will be! 

I REALLY hope this helps you parents/caregivers out there, in need of a plan! If implemented right, this chart works with any child age 2 1/2 to 6 years! PLEASE let me know in comments if there is something I didn't explain enough or if you have any other questions!!! I will be happy to help!

How to make a Coin Chart:
Have your child help pick 6 different picture from the internet of their favorite characters and print them out. I used a compass to make a 3 inch circle around each print out!
 For fun I have used a rainbow theme but you can customize to just use your child's favorite colors! I used a glue stick and glued the pictures to a 3 1/2 inch circle of a plain color paper. Then I took the six coins to Kinkos copy store (you can go to any store like it near you). They have a lamination machine and it costs 2 dollars for an 8 1/2 X 11 sheet. Your coins will all fit on that size paper! Cut them out and there are your coins! *Tip: watch out that you don't cut too close to the coin... you can see where the seal stops on the laminate and you don't want to cut into it!

Here is my sons old chart which I got lucky and used to make my daughters new chart! You need to make pockets at the top of the chart for the coins to be placed in and pulled out by your child. I also laminated the front of the pockets labeled character, C, O, I, N, and S because if you just left them paper they would not be very sturdy for daily use! Once laminated, I just hot glued the edges down to make a pocket for the coins to fit into!
 This piece of paper is just a regular poster board from any craft store which costs about 30 cents! If you choose a smaller piece of paper, remember that you are going to have to size down your coins! This is one of the reasons I used such a big sheet of paper!
 Another reason it is good to use this size is because of most sticker sizes. This chart makes perfect spaces for ten regular stickers in a row! If you make the boxes too small you will have to search for really small stickers to fit in the spaces. So you make rows of ten boxes for your stickers and the larger box to the right is where you write in what goal they got! The blank space to the left is to fill in with fun pictures your child will like.... get creative, the more personalized, the better!
Here is my big 3 1/2 year old, excited to start her coin chart! =) I think it's so cute how her FAVORITE coin is Jack Black! If she doesn't listen, this coin is the LAST one she will choose to go! =)

 *A good Tip, Try to push through the first ten stickers to the first goal with your child. You want them to understand that they EARN things for positive behavior and that this chart will really work for them!! If they have already been asking you for a special toy or something like that, write it down in the  goal column on the right so they can get excited about the special thing!

*In the real world, if we do good work we get compensation! This chart gets your child ready for REAL life work and helps them not to just expect things handed to them whenever they want it! Hope this system works as well for you as it has for me and I would LOVE to hear about how it is working and see pictures of the charts you make!

*UPDATE* I have just hit the one year anniversary for my blog, October 2012! I can't believe the responses I have gotten in just a few short months! If you have made this chart and would like to share it or have questions, I have JUST started a Facebook page and would love it if you could share a photo of your chart and how it's working for you! Also, PLEASE "like" my facebook page while you are there! Thank you for your support! HERE is the link!

*I finally put together a post about others who have made their own charts! Click HERE if you what to see what others have done!


Sunday, March 11, 2012

Kiki's Birthday Invitations (Birthday Ball toss idea)

I just thought it would be fun to share with you some ideas for birthday invitation pictures that we have done. Most people have some experience with Photoshop now a days. I'm just lucky my husband does this for a living and he teaches me a few of his tricks! I always have these "Big Ideas" and he makes them happen! For both of my children's first birthdays we tried to do a theme around their favorite characters or things! I couldn't find the actual file for this picture so I took a picture of it...sorry for the quality! Choose a cute picture of your child and Photoshop them in with their favorite characters!


Do It Yourself Birthday Ball Toss 
I wanted to add this cute idea! I will be using it again in a little over a year with my next baby! Balls are so much fun for girls or boys at this age! I always hit the dollar store and buy whatever fun balls they have. Then I find a Furniture store that will give me one of their HUGE boxes and make a fun ball toss that goes with the theme. All ages have fun with this!!! Here are a few pictures of Keaten and Brenden's ball toss games! If you are making this for a child that is only one year, make sure you have a big enough hole so they can make it in. If you box is big enough, you can add some smaller holes for older children. Then as a party favor, let each child have a ball when they go home!


Another fun idea if you are having a ball party for your little one is personalized bouncy balls using Mod Podge! Follow this link to find out how to do it.


For Kiki's second Birthday we had a Costume Tea Party.
Here she is, in a few of her many costumes, having tea with herself!

 This Picture I am VERY proud of because I came up with the idea, I shot the pictures, and did a lot of the work....my husband just put on the finishing touches! For Kiki's third birthday she had a Cupcake Party theme! Here she is in a few of her outfits! The picture in the middle is her in her Halloween costume. Her Birthday is right around Halloween which is why she is always dressed up in costumes. She was Muno from the show Yo Gabba Gabba


Related Posts Plugin for WordPress, Blogger...